This year's project is inspired by sports car rallies. We'll start with the end in mind.
The robots will individually run a course in an arena. The course will not be known beforehand although it will be the same for each robot.
Two complete trials will be run. Robots will receive the score of their best trial.
The judging software will run a large timer on the computer screen while the trial is being run, as well as posting the wayPoint list (including times achieved). Robots will be judged on how much of the course they are able to complete (as evidenced by their wayPoint list) as well as how quickly they were able to traverse the course.
The judging software protocol is available as a pdf.
Here is the rally judging software jar file. You will need to have a JAXP compliant XML parser implementation in your classpath to use it (see the faq for more info). Also you will need to load a map before you can do much here is a simple course map.
Here is a simple test client, which you may find useful to help understand the protocol.
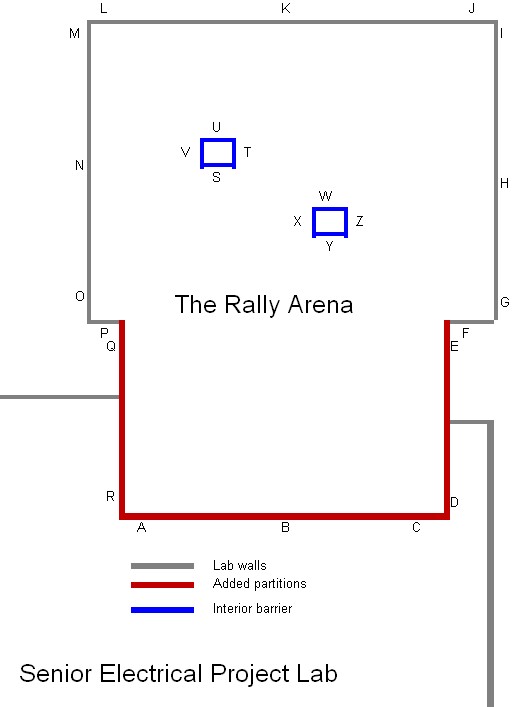
The rally arena will be in the northeast corner of the Senior Electrical Computing Lab and will be laid out approximately as below. The width is about 12 feet.
WayPoints: The wayPoint locations are marked by letters on the sketch below and will be marked on the actual arena walls using standard letter size sheets form a laser printer marked with the wayPoint (and optionally, the next wayPoint) using a black and white barcode
Waypoint images will be 13.8 x 13.8 cm, and will be mounted with the centre 35cm above the floor.
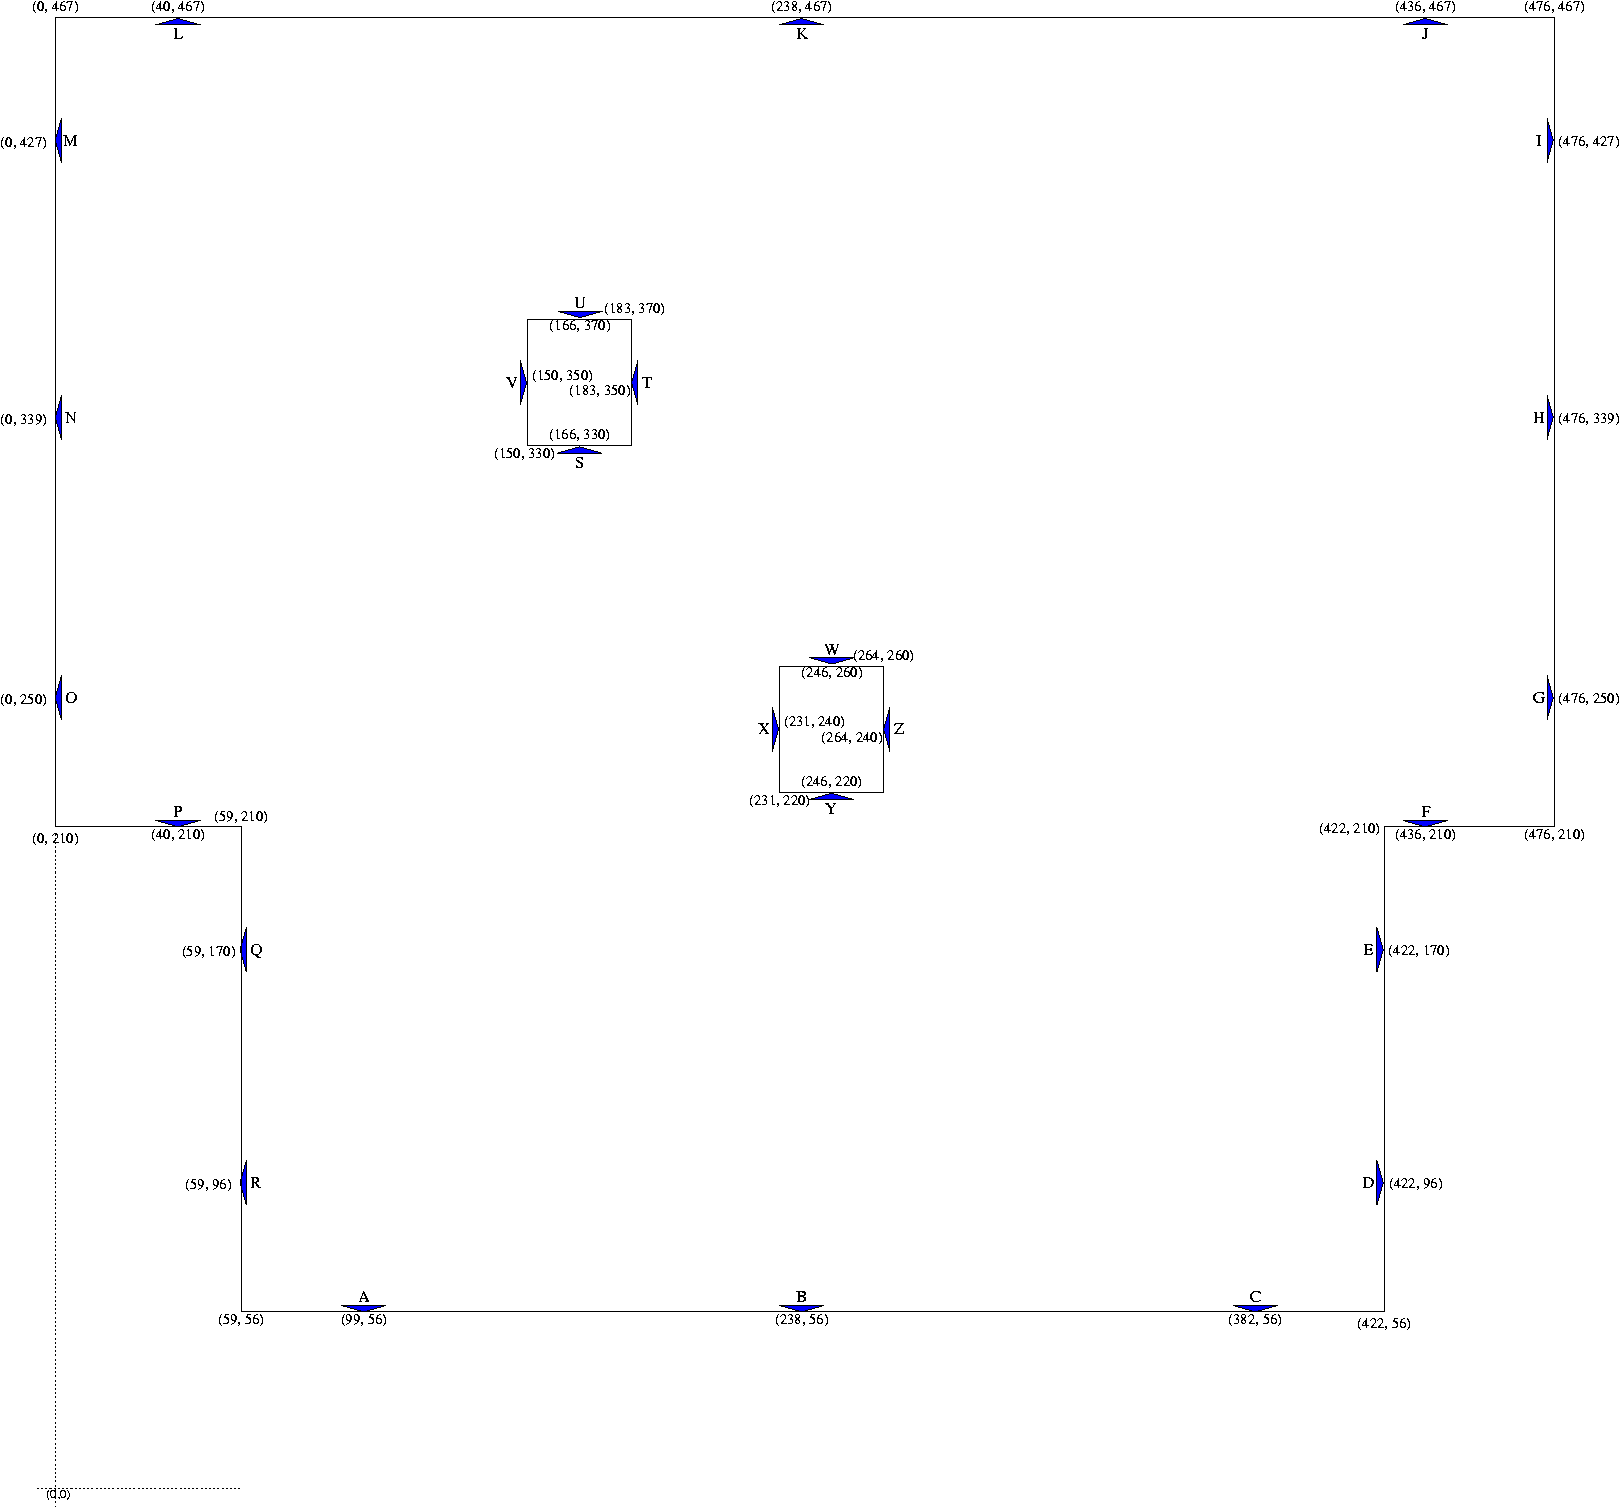
Here is the arena with all the dimensions noted. Dimensions are in cm. and waypoint locations refer to the centre of the target.
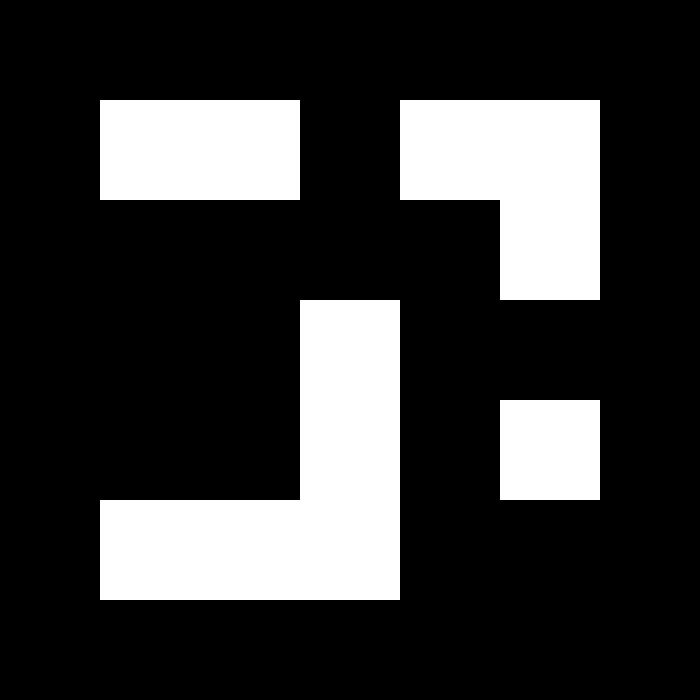
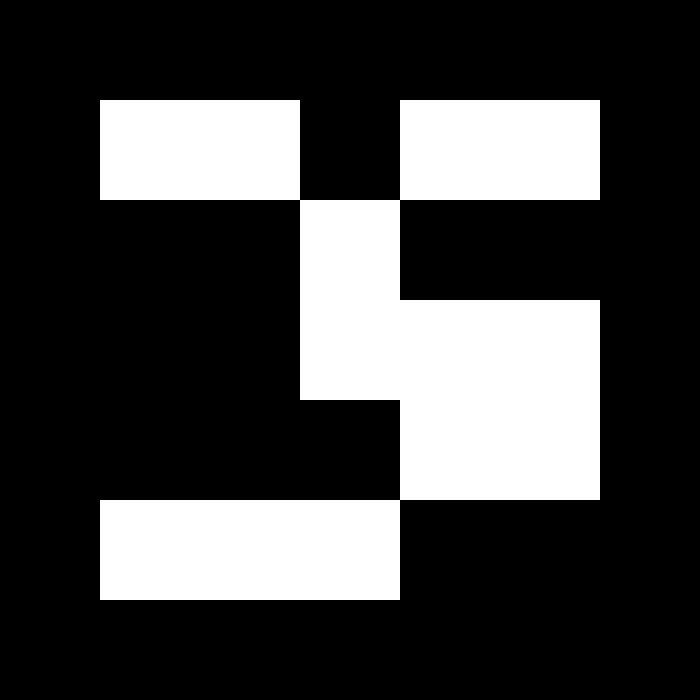
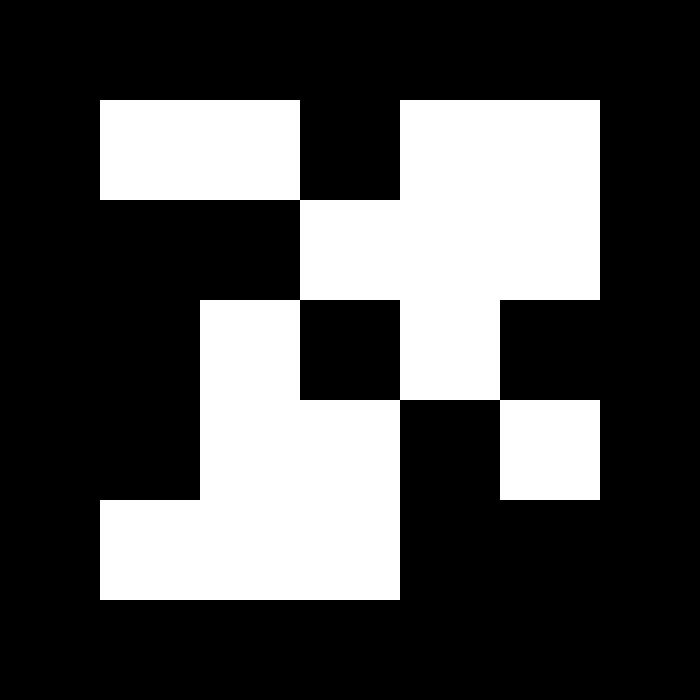
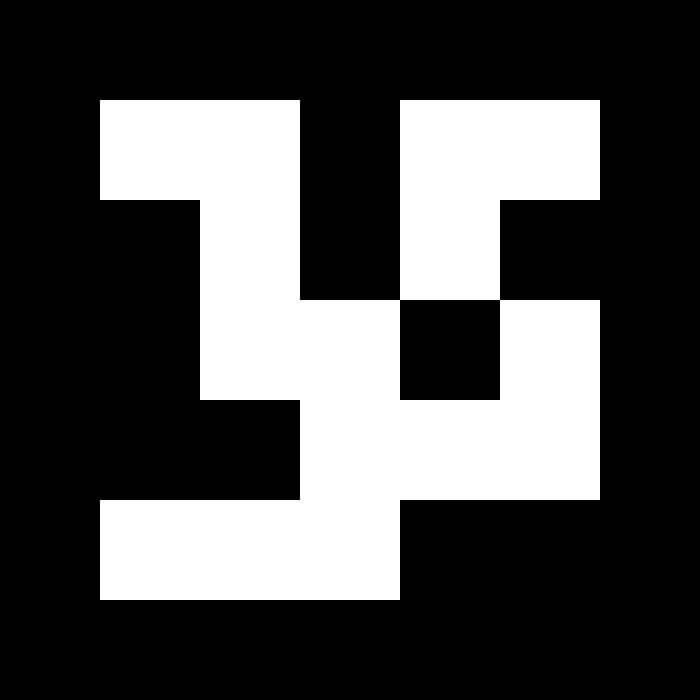
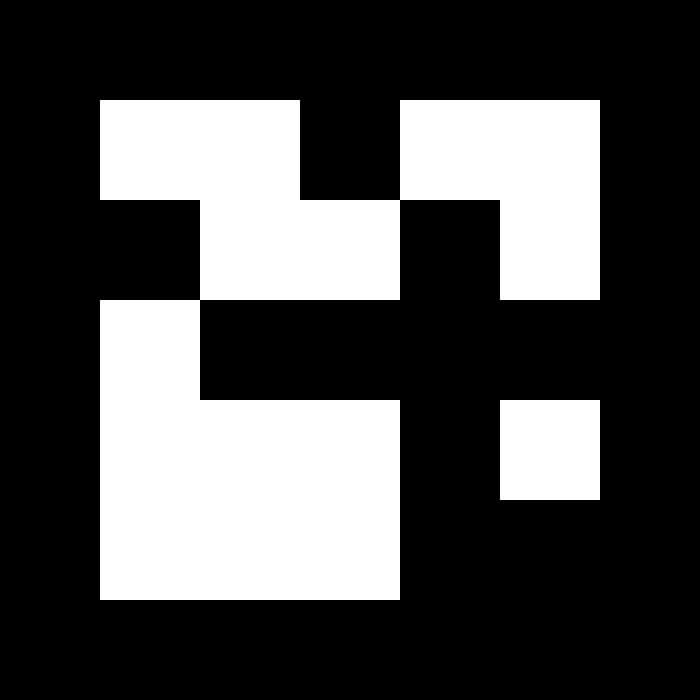
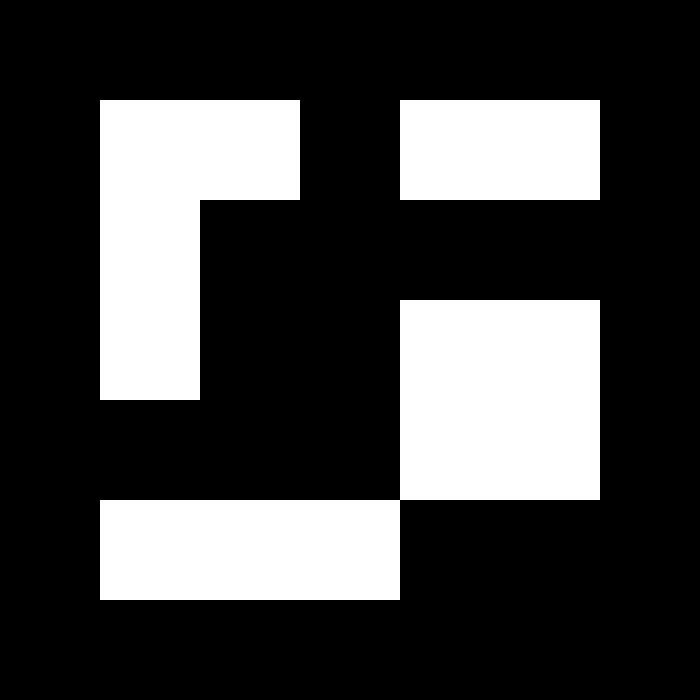
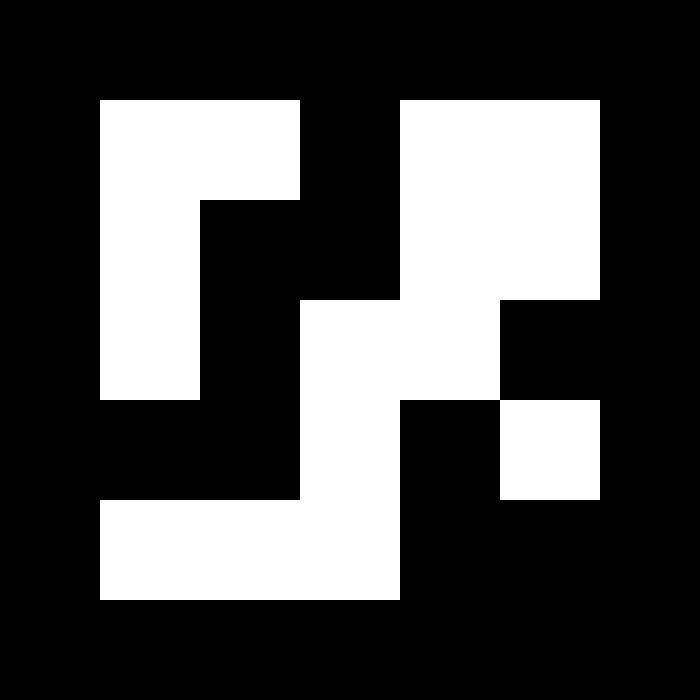
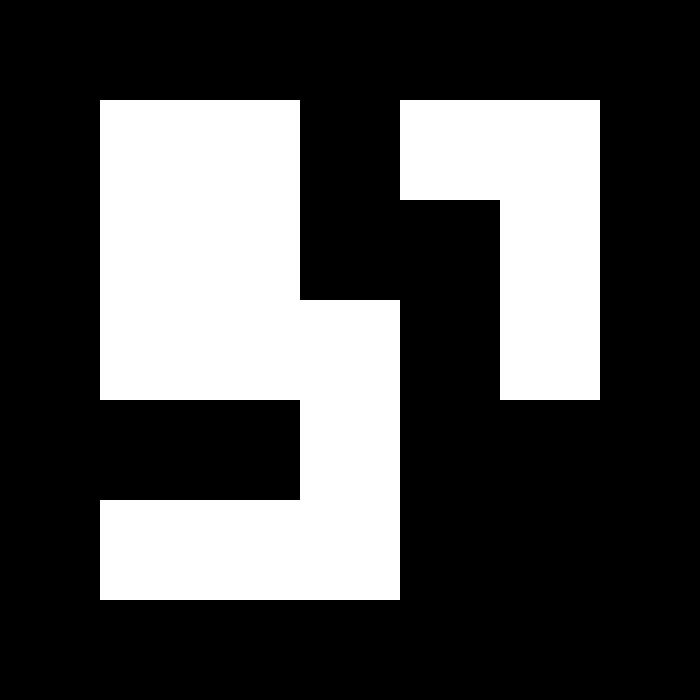
The code for wayPoint marking has been defined in a Word document. Basically, it's a checkerboard design with a lot of standard information to allow you to calibrate your image.
Here are some code examples: The final images will be 13.8 x 13.8 cm, and will be mounted with the centre 35cm above the floor.
 AD |
 DG |
 GJ |
 JM |
|---|---|---|---|
 MP |
 PS |
 SV |
 YEND |
In the first trial the robot will be placed on a line on the floor which will be from 5 to 12 feet away from the wall. Upon receipt of a command from the PC, the robot will simply have to advance straight until it encounters a wall, then execute a 90 degree left turn and advance straight again until it encounters another wall. It should output the co-ordinates (x,y) where x is the distance of the first wall and y the distance of the second wall, both as measured from the start point, in centimetres.
General procedures will be similar to those defined for the final trials (robots sequestered at the beginning, best of two trials, etc.)
Robots will receive 5 points for measuring the distance to the first wall and five for the distance to the second. Touching a wall will cost them two points as will measuring the distance incorrectly (error of geater than .25 meters).
For the second demo your robot will be placed in the vicinity of a specific waypoint and you will be told to have it drive to another waypoint (we will choose both waypoints, and you won't know in advance what they are, but you can choose your starting orientation). This information must be input to the controlling PC by the operator. After the waypoint information is input, and the "go" signal is given, the operator is not permitted to take any further action. Once your robot has reached the destination it must acquire the image and report the two letter code (i.e., current waypoint and next waypoint) indicated by the target.
Five points for achieving the waypoint, five points for correctly reading the target.
Last modified $Date: 2007-10-03 16:29:02 -0230 (Wed, 03 Oct 2007) $ ($Revision: 184 $) by $Author: dpeters $.